I just remembered the 20lbs of flax seed I bought in my bulk order last year and started adding it to my bread. I am using the same Oatmeal Bread recipe I posted about here but I just add 1/2 c ground flax seed. I grind the flax 1/4 c at a time in my coffee grinder. This bread is so good and if you wish, you could exchange some of the white flour for whole wheat.
I find that this bread stays really fresh for at least 3 days, but it doesn't usually last that long.
This post is linked up to Raising Arrows Saving 4 Six Graced Simplicity Dandelion House
Wednesday, June 12, 2013
Tuesday, June 11, 2013
Cutworm Prevention - No Till Farming Update
I have been busy out in the pumpkin patch this last week. So far our No Till Farming Method is working just fine. BUT, I did notice when we were filling the holes with the beautiful composted manure dirt that it had cutworms. Cutworms are a serious threat to all gardeners and farmers. They are awful, grubby worms that stay just under the surface of your dirt, looking for tender new plants to cut down and eat.
At our old house, I had a serious problem with cutworms and learned this technique to prevent them from eating my plants. It doesn't kill them though, so as I find them, I kill them myself.
If I had remembered this trick when I was planting the pumpkin seeds this year, I would have saved myself a bunch of time and effort by just doing it while I was planting the seeds.
Because cutworms stay just below the surface, any barrier will prevent them from getting at your plants. So, I cut cheap card stock into 1/2" strips and tape them in a circle.
Then I went out to the pumpkin patch and made a circle in the dirt with my finger around each little pumpkin plant. Then I pressed the paper ring into the dirt, encircling the plant and protecting it from the sinister worm. While I was doing this, I found 3 victims already.
I didn't count, but I'm sure I had to make a few hundred of these rings. Like I mentioned earlier, once I saw the cutworms, I should have planted the seeds right in a paper ring in the dirt. I did this at our old place, but the chickens were drawn to the paper and scratched up many of my pumpkin hills! This year, because of the many predators around here, we have the chickens confined in the barnyard:(
I did a check in the patch today and all the plants are doing great and growing so nice.
This post is linked up to My Healthy Green Family
![]() |
| Photo source: Wikipedia |
If I had remembered this trick when I was planting the pumpkin seeds this year, I would have saved myself a bunch of time and effort by just doing it while I was planting the seeds.
Because cutworms stay just below the surface, any barrier will prevent them from getting at your plants. So, I cut cheap card stock into 1/2" strips and tape them in a circle.
Then I went out to the pumpkin patch and made a circle in the dirt with my finger around each little pumpkin plant. Then I pressed the paper ring into the dirt, encircling the plant and protecting it from the sinister worm. While I was doing this, I found 3 victims already.
I didn't count, but I'm sure I had to make a few hundred of these rings. Like I mentioned earlier, once I saw the cutworms, I should have planted the seeds right in a paper ring in the dirt. I did this at our old place, but the chickens were drawn to the paper and scratched up many of my pumpkin hills! This year, because of the many predators around here, we have the chickens confined in the barnyard:(
I did a check in the patch today and all the plants are doing great and growing so nice.
This post is linked up to My Healthy Green Family
Monday, June 3, 2013
No Till Farming in Our Pumpkin Patch
I have decided to try a No Till method of farming for our pumpkin patch this year. This idea came about for a few reasons.
1. We don't have a tiller to till up the soil.
2. Our land is so rocky, I'm almost afraid to try tilling.
No Till Farming is when a cover crop is planted and then killed (either by cutting it for certain crops, or most likely, using round up). Then the new crop is air seeded right through the old cover crop without tilling up the ground first.
They say the benefits to this are;
- keeping the soil from being eroded.
- the ground cover helps keep moisture in the ground.
- you use less fuel because you're not tilling.
- It could help keep weeds down.
There are many more benefits to no till farming, but there are some downsides too. Weeds can still come through and if you don't keep up with them, they can take over.
Here is the process for no till farming on our farm. I have done things a bit different from conventional no till practices, as you will see.
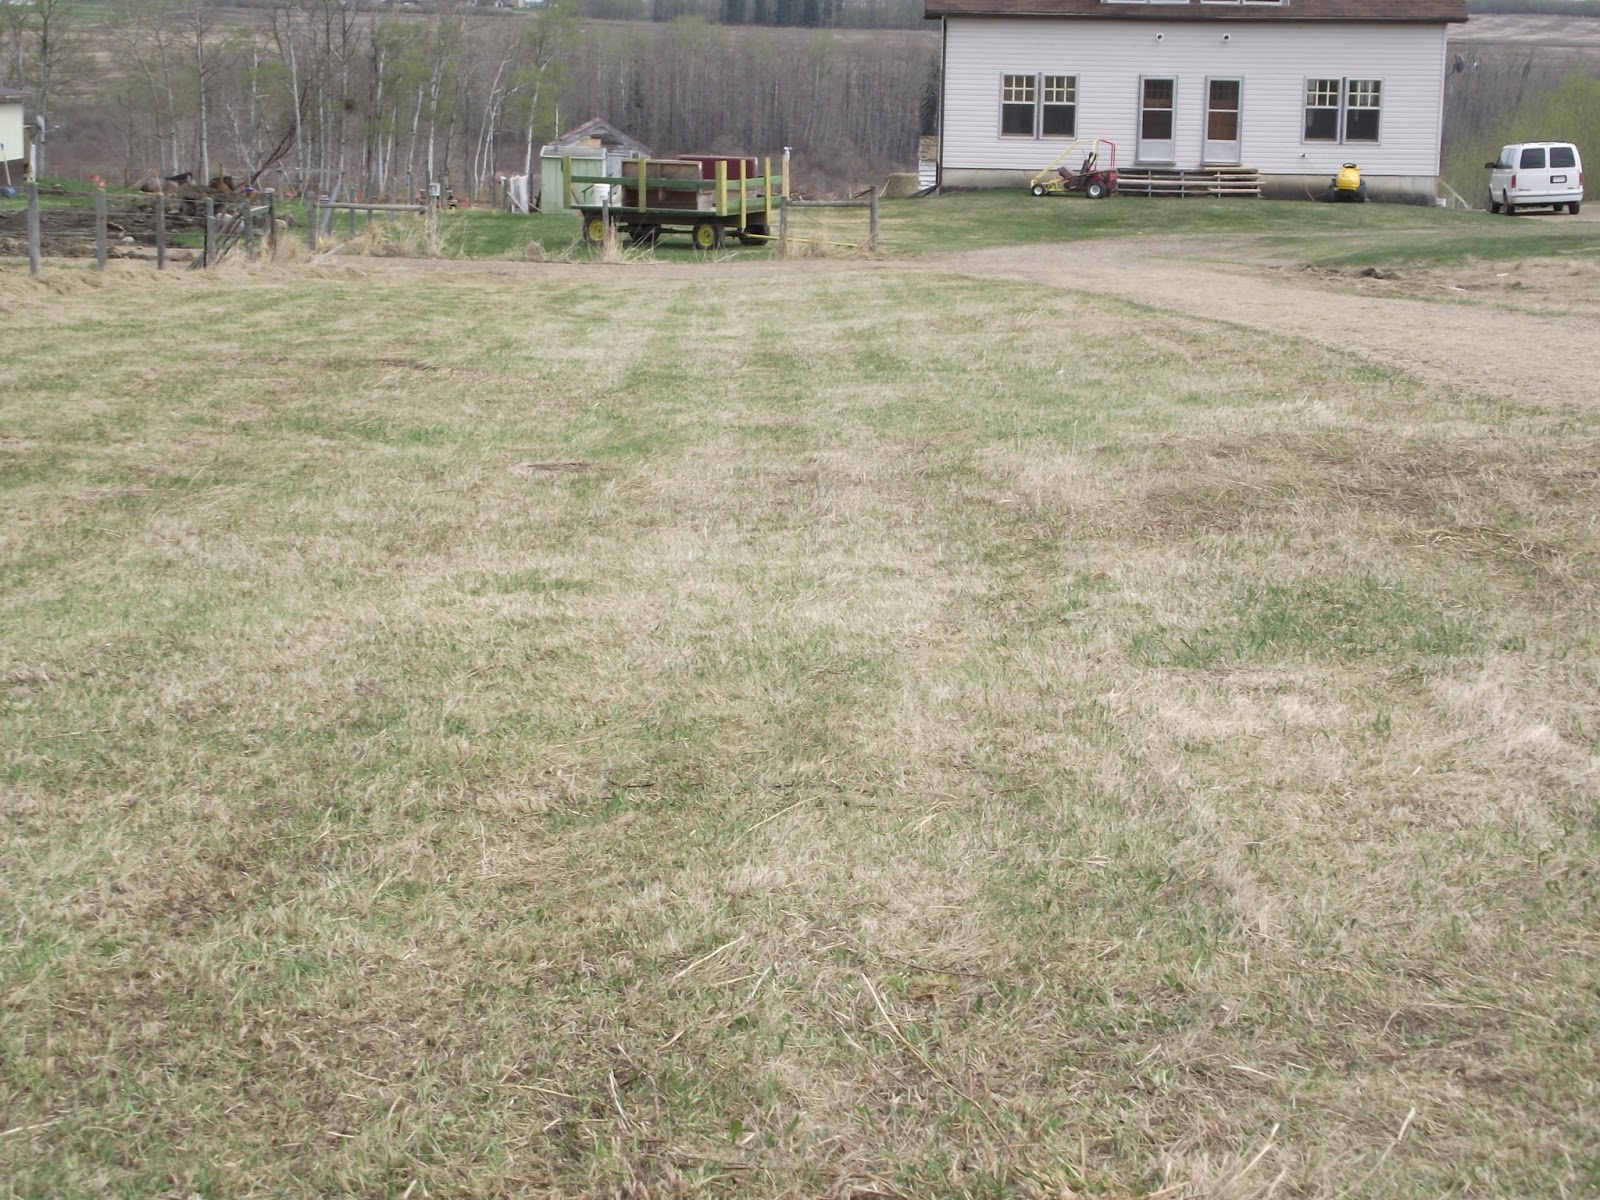
This is the land we chose for our pumpkin patch. It runs along side our driveway. You can see how it was totally overgrown. And we only have a little lawn tractor to clean it up.
While we were there, we just had to look at their baby lambs. Oh, they were sweet!
Sorry, back to the pumpkins. This is our patch below. I saw a few pumpkins coming up a couple days ago.
I am excited about this project and will keep updates coming so you can see our progress. Even if it's bad. I really appreciate people who share even when things aren't going as planned. There are some no till pumpkin patch videos on YouTube that I watched before I came up with my plan and I am so grateful that the farmer posted them because I learned so much from him. Things didn't really work out like he wanted, but he shared it all anyway.
God bless.
This post is linked up to; The Prairie Homestead Fresh Eggs Daily This Mind Be in You New Life On a Homestead
1. We don't have a tiller to till up the soil.
2. Our land is so rocky, I'm almost afraid to try tilling.
No Till Farming is when a cover crop is planted and then killed (either by cutting it for certain crops, or most likely, using round up). Then the new crop is air seeded right through the old cover crop without tilling up the ground first.
They say the benefits to this are;
- keeping the soil from being eroded.
- the ground cover helps keep moisture in the ground.
- you use less fuel because you're not tilling.
- It could help keep weeds down.
There are many more benefits to no till farming, but there are some downsides too. Weeds can still come through and if you don't keep up with them, they can take over.
Here is the process for no till farming on our farm. I have done things a bit different from conventional no till practices, as you will see.
This is the land we chose for our pumpkin patch. It runs along side our driveway. You can see how it was totally overgrown. And we only have a little lawn tractor to clean it up.
Larry set to work and cleaned it up.
In the picture below, you can see just a couple of the rocks that we have to deal with. They are everywhere on our property.
This is where I did things a little different. Instead of seeding right through the dead cover crop, we dug holes where I wanted a pumpkin hill to be. Then filled it with composted manure dirt. Also, I am not going to kill the "cover crop" first. I'm going to let the pumpkins grow until they are just big enoough to fit into an ice cream bucket, then I'm going to cover them with an ice cream bucket and round up the field then. Hopefully the pumpkins will grow really fast at that point and cover the ground, keeping the weeds down. Until we round it up, I would keep mowing it. I'll probably have to mow 3 times. And I didn't plant a cover crop, I'm just letting whatever it is that was already growing there grow.
We have some great friends who offered us composted manure dirt! I was very grateful. So, we went to their farm and they loaded us up.
While we were there, we just had to look at their baby lambs. Oh, they were sweet!
Sorry, back to the pumpkins. This is our patch below. I saw a few pumpkins coming up a couple days ago.
I am excited about this project and will keep updates coming so you can see our progress. Even if it's bad. I really appreciate people who share even when things aren't going as planned. There are some no till pumpkin patch videos on YouTube that I watched before I came up with my plan and I am so grateful that the farmer posted them because I learned so much from him. Things didn't really work out like he wanted, but he shared it all anyway.
God bless.
This post is linked up to; The Prairie Homestead Fresh Eggs Daily This Mind Be in You New Life On a Homestead
Saturday, June 1, 2013
May Recap
May is gone already! Here is a summary of what's happened around here this month.
May was exciting for Jacob. He got his cast off, soccer started and he learned how to his bike. Larry was out showing him how and he just took off! I love the video, because you can hear Rebekah playing, "Early One Morning" on her violin in the background.
We had to move our chicken coop to the end of the barn. We have a fox watching our chickens and there still might be a weasel around. So, we thought if the rascals had to go through the barn, past the donkeys to get at the chickens, it might deter them.
This is how it was set up. The chickens were very vulnerable to critters coming right into their coop and the donkeys wouldn't be able to help.
Larry used the pickup to turn the coop. Then he pushed it right up to the open doors on the barn. Now we have to go through the barn to get the eggs.
Spring finally arrived in May. So, everyone has been outside getting work done. Our land is VERY rocky and it seems Jacob found a big one!
They were busy working and mowing that day. It was a very dirty job, just look at their faces!
Rebekah and I were so blessed to go to the Paul Brandt, "Just As I Am", concert a few weeks ago. It was so great! Rebekah thought his semi was pretty cool, so we snapped a pic with her by it.
Rebekah and I got to the city early so we could do some shopping and eat. Rebekah got so many nice new clothes.
I was able to enjoy another amazing concert. It was Rebekah and Jacob's year end violin concert. I love to see how far they've come in just 7 months of playing violin.
Well, that's it for now. A few more things did happen in May, but I will cover them in a different post.
God bless.
May was exciting for Jacob. He got his cast off, soccer started and he learned how to his bike. Larry was out showing him how and he just took off! I love the video, because you can hear Rebekah playing, "Early One Morning" on her violin in the background.
We had to move our chicken coop to the end of the barn. We have a fox watching our chickens and there still might be a weasel around. So, we thought if the rascals had to go through the barn, past the donkeys to get at the chickens, it might deter them.
This is how it was set up. The chickens were very vulnerable to critters coming right into their coop and the donkeys wouldn't be able to help.
Larry used the pickup to turn the coop. Then he pushed it right up to the open doors on the barn. Now we have to go through the barn to get the eggs.
Spring finally arrived in May. So, everyone has been outside getting work done. Our land is VERY rocky and it seems Jacob found a big one!
They were busy working and mowing that day. It was a very dirty job, just look at their faces!
Rebekah and I were so blessed to go to the Paul Brandt, "Just As I Am", concert a few weeks ago. It was so great! Rebekah thought his semi was pretty cool, so we snapped a pic with her by it.
This is Paul Brandt. He is a country singer and has just released a country gospel CD. He is a strong Christian and has always sung wholesome songs and is not ashamed of his faith.
Rebekah and I got to the city early so we could do some shopping and eat. Rebekah got so many nice new clothes.
I was able to enjoy another amazing concert. It was Rebekah and Jacob's year end violin concert. I love to see how far they've come in just 7 months of playing violin.
Well, that's it for now. A few more things did happen in May, but I will cover them in a different post.
God bless.
Wednesday, May 29, 2013
Hand Made Daniel Boone Hat
As all you who follow my blog would know, my family really likes Daniel Boone. We did a unit study on him and have the whole TV series. Jacob even dresses up like him once in a while.
Last summer I bought a lot of faux fur material from a garage sale for $2.00. Then in November I ordered 25 real raccoon tail key chains. I wanted to make "Daniel Boone" (or Davy Crockett) hats to sell. We know that Daniel Boone didn't actually wear a raccoon hat in real life, but his TV character does, so it's fun to pretend.
So, here's the process to making a "coon skin" hat.
This is the "fur" I bought. This is folded over double. It's about 7 feet long and I got 2 of them.
Next I hemmed the long strip for a nice bottom edge. Then I pinned it to the circle, right sides together and sewed around it. Then I pinned the seam for the back with the tail in place and sewed that. Because I could only find real raccoon tail key chains, I just cut the key chain part off. (My sewing "room" is in a little alcove in my bedroom. It was really nice to be working in there for the first time today. I think it might be a little cramped if I were working on a bigger project though. But, I can't see that happening to often!)
Jacob tried it on for me because I used his head for the sizing and it fit perfect! I am going to hem it another 1/2" though, because I think it's too tall. But other than that I think it turned out really great and it only took me about 20 mins to make, mistakes and all. So, now I only have 24 to go!
This post is linked up to; Growing Home, Saving 4 Six, Raising Homemakers, Hope in Every Season, Dandelion House Adventures of a DIY Mom The Better Mom, A Mama's Story Road To 31 Raising Arrows Graced Simplicity
Last summer I bought a lot of faux fur material from a garage sale for $2.00. Then in November I ordered 25 real raccoon tail key chains. I wanted to make "Daniel Boone" (or Davy Crockett) hats to sell. We know that Daniel Boone didn't actually wear a raccoon hat in real life, but his TV character does, so it's fun to pretend.
So, here's the process to making a "coon skin" hat.
This is the "fur" I bought. This is folded over double. It's about 7 feet long and I got 2 of them.
Because it's sewn doubled together, I cut enough for 2 hats. I cut a strip 4.5"x22" and a circle 7" in diameter. This was fun because I had to use math that I hadn't used since high school.(I know I'm weird, but I think math is fun!) To find the diameter of a circle, (the distance across), you divide the circumference (the distance around) by pi (or roughly 3.14). My circumference was going to be 21", so allowing for a seam allowance, I used a 7" plate as a guide to cut the circle.
Jacob tried it on for me because I used his head for the sizing and it fit perfect! I am going to hem it another 1/2" though, because I think it's too tall. But other than that I think it turned out really great and it only took me about 20 mins to make, mistakes and all. So, now I only have 24 to go!
Labels:
Crafts,
Daniel Boone Unit Study,
Tutorials
Saturday, May 18, 2013
Freedom!
This past Wednesday, Jacob had his cast taken off. I can't believe a month has gone by already! So, today, we went to a local lake so he could splash around. The dog seemed to enjoy it as well.
At the hospital Jacob was nervous that the saw would cut his arm. But he seemed OK while the nurse was showing him the saw.
Then she turned it on and he started to get scared.
Then she actually started cutting off his cast and he was down right terrified!
She had to cut both sides and by the second side, Jacob said that the saw tickled and was laughing! To be honest, I was scared of the saw too. I had never seen one before and I thought maybe he could get hurt, but I tried to act brave for his sake. So I was happy when he started laughing and I knew he was in no pain.
Friday, May 3, 2013
No More Foil! Part 2
This was not planned. But this is a follow up to the post I did last week, No More Foil!
Last night I was making barbecued pork chops for supper and thought baked potatoes would be great along side them. With my plan to not buy tin foil anymore, I was stumped at how to go about it. When I have food cooking in the oven, I just cook the potatoes in a covered casserole dish along with whatever else is cooking and they are usually done at the same time, but I didn't want to put a glass casserole dish in the barbecue.
This is what I came up with. I washed and pricked the potatoes as usual. Then I microwaved them for about 6 or 7 mins to get them started cooking. When I lit the barbecue, I put a cast iron skillet on the rack with the potatoes in it and covered it with a lid. (This is when I wish I had a cast iron dutch oven.) I closed the lid and let them cook while the BBQ warmed up and then they cooked another 20 mins while the pork chops cooked. They turned out great! Although, next time I might turn them once during cooking.
It's probably silly to see how long I can go without buying tin foil, but like I said in my last post, it's one less thing I have to buy from the store and I like that.
This post is linked up to; Thrifty Thursdays
Subscribe to:
Posts (Atom)
.jpg)